Home › Devices › Canon › Canon EOS 5D Mark II
 NEW!
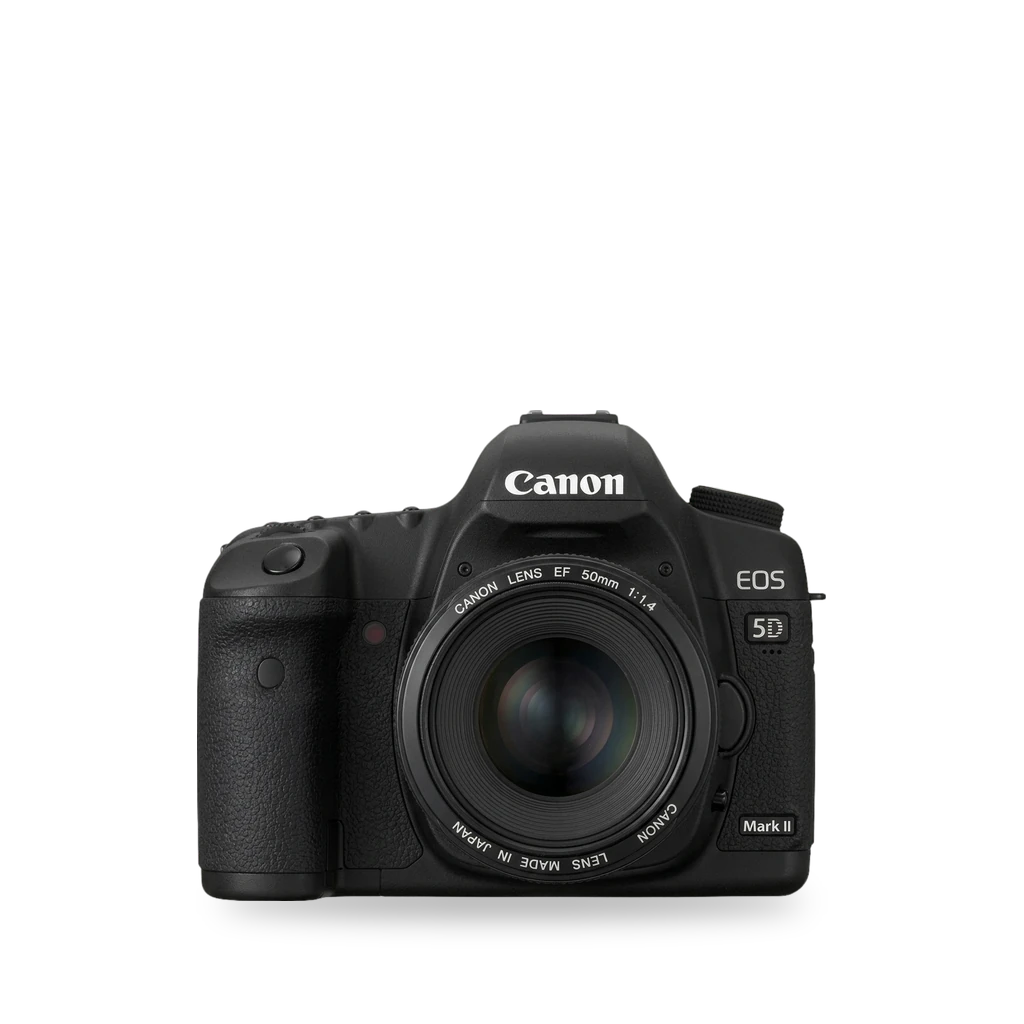
Photo: Charles Lanteigne, CC BY-SA 3.0 · AI-edited (studio background)

CANON · CAMERA · 2008
Canon EOS 5D Mark II
Also called: 5D Mark II · 5D mk2 · EOS 5D Mark II
Canon's full-frame DSLR from November 2008, the follow-up to the original EOS 5D. Magic Lantern, first written for this camera, adds RAW video and other tools beside Canon's firmware. Battery swaps and an infrared filter conversion are also documented.[1][2][5][7]
Which one do I have?
| Model | Variant | Year | How to tell |
|---|---|---|---|
| EOS 5D Mark II | full-frame DSLR | 2008 | Launched November 2008. 21.1-megapixel full-frame CMOS, about 36 by 24 mm, DIGIC 4. 3.9 frames per second and 1080p video at 30 fps. ISO 100 to 6400, expandable to 50 (L), 12800 (H1), and 25600 (H2). 3.0-inch Clear View LCD. CompactFlash card. Battery is the LP-E6.[1][4] |
Mods (5)
⚠ Mod at your own risk. We collect what others have published; we have not tested these mods. Read the safety notes
Magic LanternWorks
- ⚠ Can brick A mistake can leave the device unable to start.
Free add-on firmware that boots from the CompactFlash card and leaves Canon's ROM in place. These install notes require Canon firmware 2.1.2. It adds RAW video, focus peaking, zebras, dual ISO, and audio tools.[2][3]
Good to know
- Magic Lantern was first written for the EOS 5D Mark II in 2009 by Trammell Hudson. It is free and open source under GNU GPLv2.[2]
- It runs next to Canon's own firmware and does not replace it. It boots from the memory card after a boot flag is set.[2]
- The feature list includes RAW video, focus peaking, zebras, dual ISO, and advanced audio controls.[2]
- The install notes require Canon firmware 2.1.2. A clean install runs ML-SETUP.FIR from the camera's firmware update menu to set the boot flag.[3]
- The Magic Lantern files are copied to a CompactFlash card in the camera.[3]
- The menus include Audio, Overlay, Video, Focus, and Settings.[3]
⚠ Watch out
- These install notes require Canon firmware 2.1.2.[3]
Guides:Magic Lantern for Canon EOS 5D Mark II - dimalishes/magic-lantern-russian
Replace the LP-E6 batteryWorks
- ⚠ Lithium battery Uses or touches a lithium cell. A damaged cell can catch fire.
The camera uses a Canon LP-E6 pack. iFixit rates the swap Very easy: open the battery door, release the white latch, and take the pack out.[5][1]
Parts
- Canon LP-E6 Fits — Canon lists the LP-E6 lithium-ion pack as the standard battery.[1]
Good to know
Clock batteryWorks
A backup battery under the rubber flap by the jacks keeps the clock and settings. One Phillips screw holds it. Taking it out clears the settings.[6]
Good to know
- The backup-battery tray is under the rubber flap that covers the input and output jacks.[6]
- One 3.4 mm screw holds it. The screw needs a Phillips #000 driver.[6]
⚠ Watch out
- Removing the backup battery erases your settings.[6]
Guides:Canon EOS 5D Mark II Clock Battery Replacement - iFixit
Infrared or full-spectrum conversionWorks
- ⚠ Permanent change Cuts, drills or glues the device. You cannot undo it.
A Life Pixel tutorial opens the body, takes out the sensor unit, and swaps the sensor's infrared-blocking filter for an infrared filter.[7]
Parts
- Infrared replacement filter Fits with conditions — Replaces the stock hot-mirror in front of the sensor; the tutorial does not name a filter type.[7]
Good to know
- The tutorial removes the rubber grip, screws, and rear cover, disconnects cables, and flips over the sensor unit.[7]
- The stock infrared-blocking filter in front of the sensor is taken out and an infrared replacement filter goes in.[7]
⚠ Watch out
Guides:Canon 5D mk2 DIY Digital Infrared Conversion Tutorial - Life Pixel
Housing and LCD windowWorks
Buttons & modes
Sources (7)
- official EOS 5D Mark II - Canon Camera Museum · 2026-11-14
- wiki Magic Lantern (firmware) - Wikipedia · 2026-11-14
- docs Magic Lantern for Canon EOS 5D Mark II - dimalishes/magic-lantern-russian · 2026-11-14
- wiki Canon EOS 5D Mark II Repair - iFixit · 2026-11-14
- wiki Canon EOS 5D Mark II Battery Replacement - iFixit · 2026-11-14
- wiki Canon EOS 5D Mark II Clock Battery Replacement - iFixit · 2026-11-14
- blog Canon 5D mk2 DIY Digital Infrared Conversion Tutorial - Life Pixel · 2026-11-14