Home › Devices › Creative › Creative Zen X-Fi
 NEW!
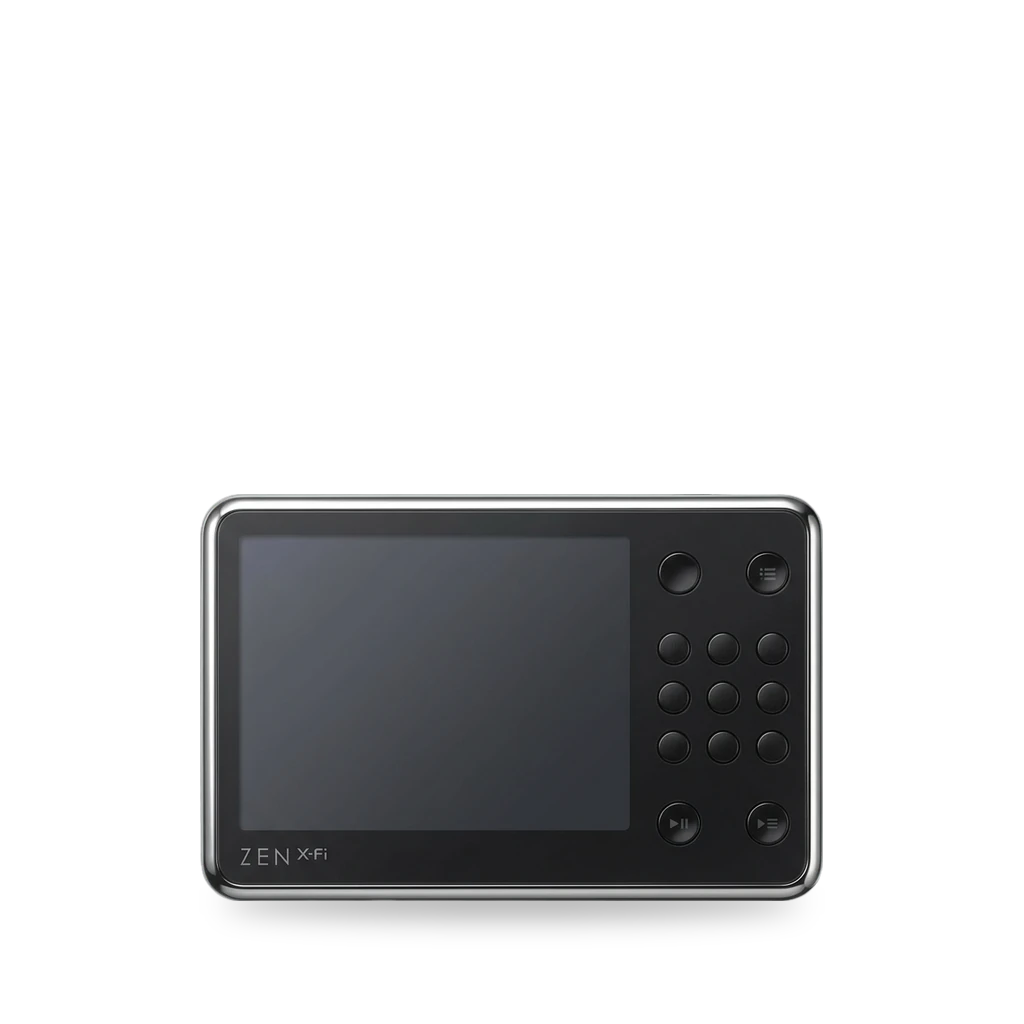
Photo: Ssx3max, CC BY-SA 3.0 · AI-edited (studio background)

CREATIVE · MUSIC PLAYER · 2008
Creative Zen X-Fi
Also called: ZEN X-Fi · Creative ZEN X-Fi · ZXFI8GBBK
2008 Creative DAP with a 320×240 colour screen, SD slot, speaker, and (on 16 GB / 32 GB) Wi-Fi. Rockbox has an unstable port and a target config; common repairs are a soldered battery swap and LCD replacement.[11][1][4][6][9]
Which one do I have?
Specs
| Screen | 320×240 colour LCD (Rockbox config; DPI comment implies about 2.5-inch)[1] |
| Storage | 8 GB, 16 GB, or 32 GB internal; Rockbox uses an SD storage driver with two drives (internal plus card)[11][1] |
| Battery (Rockbox) | Rockbox config sets battery capacity default/min/max to 550 (units not stated)[1] |
| Audio | FM tuner TEA5760; microphone recording; Rockbox notes 192 kHz playback capability[1] |
Mods (4)
⚠ Mod at your own risk. We collect what others have published; we have not tested these mods. Read the safety notes
Rockbox custom firmwareExperimental
- ⚠ Can brick A mistake can leave the device unable to start.
- ⚠ Data loss Can erase what is on the device. Back up first.
Open-source firmware with a Creative Zen X-Fi build target. Rockbox lists the ZEN X-Fi among unstable development targets.[1][4][2][3][5]
Good to know
- Rockbox has a target config for the Creative Zen X-Fi (creativezenxfi.h), with bootloader extension "creative" so the binary is named rockbox.creative.[1]
- Rockbox TargetStatus lists Creative ZEN series players, including the ZEN X-Fi, as unstable development targets.[4]
- Rockbox is free open-source replacement firmware that can run alongside stock firmware on supported DAPs.[5]
Guides:No guide found yet.
Replace the LCDWorks
Open the front case, unlatch the LCD ribbon connector on the board, peel the glued ribbon from the screen, and fit a replacement panel.[9]
Special tools: plastic opening tool
Good to know
- iFixit rates the LCD guide Moderate and about five minutes.[9]
- The ribbon connector locks with a black lever on the motherboard; open it with a plastic tool before lifting the screen.[9]
- The LCD ribbon is glued to the bottom of the screen and peels back by hand.[9]
Guides:Creative Zen X-Fi LCD Screen Replacement - iFixit Repair Guide
Replace the batteryWorks
- ⚠ Soldering Needs a soldering iron. Heat can lift pads and burn skin.
Open the case, lift the button chip and LCD, remove six screws, pry the glued cell off the midsection plate, and resolder the red and black leads at the board pads marked PS.[6][8][7]
Special tools: soldering iron, spudger
Good to know
- iFixit rates the battery guide Difficult and about five minutes.[6]
- The cell is glued to the midsection plate and its red and black wires are soldered to the motherboard at the spot marked PS.[6]
- Case opening starts with six fasteners on the screen side; a spudger pops the front case.[8][6]
⚠ Watch out
Guides:Replacing Creative Zen X-Fi Battery - iFixit Repair Guide
Replace the button input chipWorks
Open the front case and lift the glued button-input chip from the midsection. The chip handles keypad input and menu navigation.[10]
Good to know
- The button input chip takes user input for menu navigation and is glued to the midsection, so it needs extra force to lift.[10]
- iFixit rates the guide Moderate and about two minutes.[10]
Guides:Replacing Creative Zen X-Fi Button Input Chip Part 1 - iFixit Repair Guide
Sources (12)
- official creativezenxfi.h · 2026-11-16
- official rockbox/manual/getting_started at master · Rockbox/rockbox · GitHub · 2026-11-16
- official IMX233_install.tex · 2026-11-16
- wiki TargetStatus – Rockbox · 2026-11-15
- wiki Rockbox - Wikipedia · 2026-11-15
- docs Replacing Creative Zen X-Fi Battery - iFixit Repair Guide · 2026-11-16
- forum Want to replace the battery on my Creative Zen Xfi. - Creative - iFixit · 2026-11-16
- docs Replacing Creative Zen X-Fi Motherboard - iFixit Repair Guide · 2026-11-16
- docs Creative Zen X-Fi LCD Screen Replacement - iFixit Repair Guide · 2026-11-16
- wiki Creative Zen X-Fi Repair Help: Learn How to Fix It Yourself. · 2026-11-16
- wiki Creative Zen - Wikipedia · 2026-11-16