Home › Devices › Barnes & Noble › Nook Simple Touch GlowLight
 NEW!
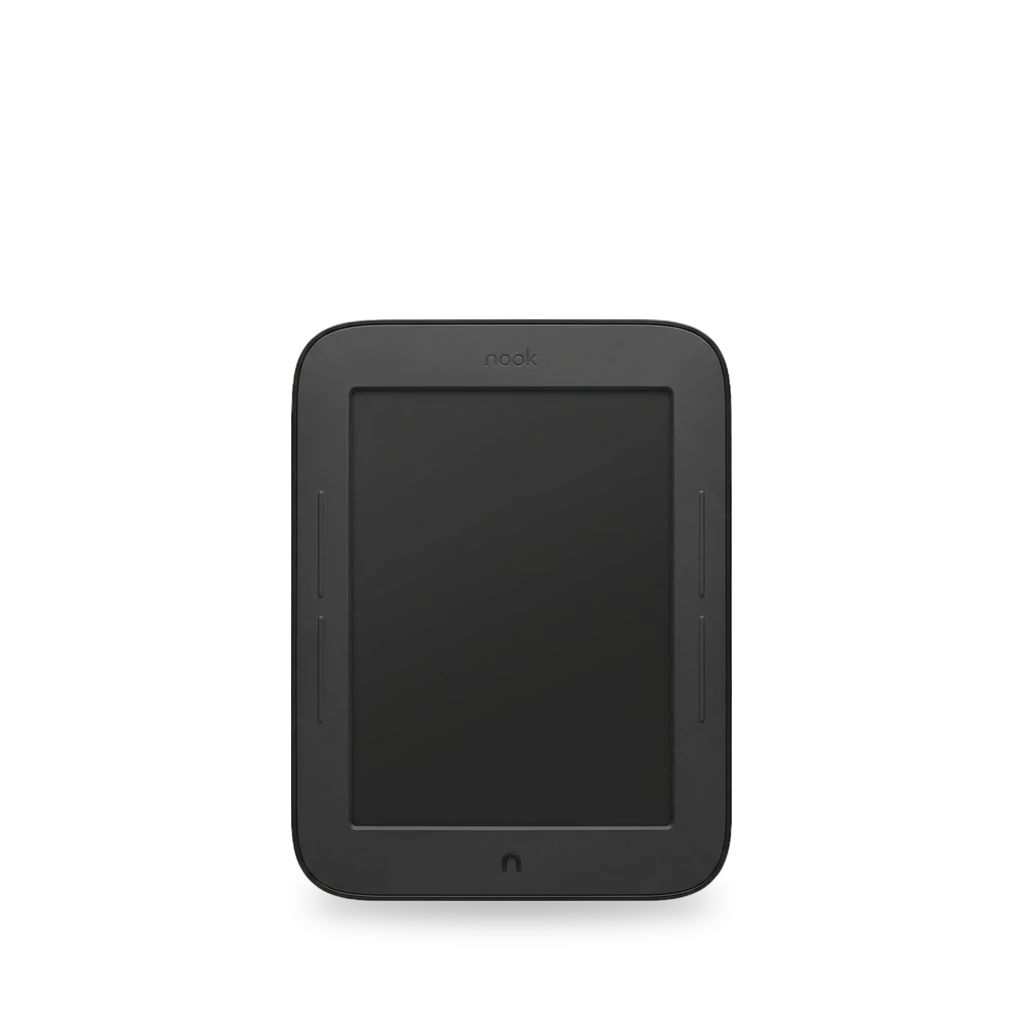
Photo: Tthaas, CC BY-SA 3.0 · AI-edited (studio background)

BARNES & NOBLE · E READER · 2012
Nook Simple Touch GlowLight
Also called: BNRV350 · Nook Glow · Simple Touch with GlowLight · NSTG
2012 Simple Touch with front GlowLight LEDs (BNRV350, Android 2.1). Root with GlowNooter or TinyNoot from microSD, back up first, then battery, screen, charging-port, and back-cover repairs. Not the later 2013 Nook GlowLight.[1][7][9][10][3]
Which one do I have?
Specs
| Battery | 3.7 V, 1530 mAh (5.66 Wh); about 1 month with GlowLight on vs 2 months off[2][1] |
| Storage | 2 GB internal; microSD expansion (B&N Simple Touch help: up to 32 GB FAT32)[1][8] |
| OS | Android 2.1 with B&N skin; Wi-Fi only[1] |
| Display stack | Front glass, GlowLight LEDs, and digitizer fused; eight LEDs at the top edge[2] |
Mods (10)
⚠ Mod at your own risk. We collect what others have published; we have not tested these mods. Read the safety notes
Backup before rootingWorks
- ⚠ Data loss Can erase what is on the device. Back up first.
Write a noogie-style backup utility to microSD and image the Glow so you can restore to stock. Same method as the original Simple Touch.[12]
Good to know
- The backup and restore method for the original Nook Touch works the same on the Nook Glow.[12]
- Needs a microSD card, a card reader, and a Windows PC for the guide as written.[12]
Guides:How to Backup and Restore Nook Glow and Nook Simple Touch
Root with GlowNooterWorks
- ⚠ Can brick A mistake can leave the device unable to start.
- ⚠ Data loss Can erase what is on the device. Back up first.
- ⚠ Check the law May break a law or rule where you live.
ClockworkMod microSD recovery, then GlowNooter packages including Google’s app market. Use the 1.2-updated package if you are on firmware 1.2.x.[9][14][13][11]
Good to know
- GlowNooter is like TouchNooter for the original Touch, but installed through ClockworkMod recovery instead of writing a full card image.[9]
- Steps: back up first, make a ClockworkMod microSD, install GlowNooter, then a market-fix package for the Android Market.[9]
- If already rooted with TinyNoot, restore to stock before GlowNooter.[9]
- Early GlowNooter froze on firmware 1.2; a January 2013 package was updated to work with 1.2.x.[14]
- Firmware 1.2 updates may break rooted Glow devices; proceed with caution.[13]
⚠ Watch out
- Follow rooting directions at your own risk. Make a backup first.[9]
Guides:How to Root Nook Glow Using GlowNooterGlowNooter Updated to Root GlowLight Nook Touch with 1.2 Firmware
Root with TinyNootWorks
- ⚠ Can brick A mistake can leave the device unable to start.
- ⚠ Data loss Can erase what is on the device. Back up first.
- ⚠ Check the law May break a law or rule where you live.
ClockworkMod microSD root without Google apps (Amazon app store instead). The author reports the GlowLight still works after root.[10]
Good to know
- TinyNoot roots the Glow with ClockworkMod on microSD and does most of what a rooted Touch can do minus Google apps.[10]
- The author reports the GlowLight still works after rooting.[10]
⚠ Watch out
- Back up before rooting.[10]
microSD card expansionWorks
Expand storage with a microSD / microSDHC card. B&N's Simple Touch help lists cards up to 32 GB, formatted FAT32.[8][1]
Good to know
Replace the batteryWorks
- ⚠ Lithium battery Uses or touches a lithium cell. A damaged cell can catch fire.
Open the back cover, detach the white connector, and remove the taped 3.7 V 1530 mAh pack. Needs a T4 Torx screwdriver.[3][2]
Special tools: T4 Torx screwdriver, opening tool
Good to know
- Battery is rated 3.7 V and 1530 mAh (5.66 Wh), held by heavy tape.[2]
- Detach the white cable connector from the motherboard, then remove the battery.[3]
⚠ Watch out
- Never work on a device that is plugged into a power outlet.[3]
Replace the screen assemblyWorks
- ⚠ Lithium battery Uses or touches a lithium cell. A damaged cell can catch fire.
Swap the fused front glass / GlowLight LED / digitizer assembly. Breaking any layer means replacing the whole display.[4][2]
Special tools: opening tool, T4 Torx screwdriver
Good to know
Replace the back coverWorks
Remove the power button, one T4 Torx screw, then slide the cover toward the charging port.[6]
Special tools: T4 Torx screwdriver
Good to know
- Remove the power button with your fingers, then the single T4 Torx screw that holds the back cover.[6]
Guides:Nook Simple Touch with GlowLight Back Cover Replacement
Replace the charging portWorks
- ⚠ Soldering Needs a soldering iron. Heat can lift pads and burn skin.
- ⚠ Lithium battery Uses or touches a lithium cell. A damaged cell can catch fire.
- ⚠ Permanent change Cuts, drills or glues the device. You cannot undo it.
The microUSB port is soldered to the motherboard. Replacing the whole board is easier than desoldering the port alone.[5]
Special tools: soldering iron, T4 Torx screwdriver, opening tool
Good to know
- The charging port is soldered to the motherboard, so replacing the entire motherboard is easiest.[5]
⚠ Watch out
- A soldering iron is very hot and can damage your hands or the device.[5]
Guides:Nook Simple Touch with GlowLight Charging Port Replacement
FastMode + USB Sound ROMExperimental
- ⚠ Can brick A mistake can leave the device unable to start.
- ⚠ Data loss Can erase what is on the device. Back up first.
Community ROM that adds audio through the USB port plus FastMode. The developer says it is compatible with the Simple Touch and the Simple Touch with GlowLight.[16]
Good to know
- USB Sound adds audio support via the USB port; the ROM is fully compatible with the Simple Touch and Simple Touch with GlowLight.[16]
Guides:No guide found yet.
Tweaked Modded ROMExperimental
- ⚠ Can brick A mistake can leave the device unable to start.
- ⚠ Data loss Can erase what is on the device. Back up first.
2014 community ROM for Nook Touch and GlowLight based on B&N 1.2.1-era firmware.[15]
Good to know
- A Tweaked Modded ROM was posted for the Nook Touch and Nook Touch with GlowLight.[15]
Guides:No guide found yet.
Sources (17)
- docs Nook Simple Touch with GlowLight Repair Help · 2026-11-16
- docs Nook Simple Touch with GlowLight Teardown · 2026-11-16
- docs Nook Simple Touch with GlowLight Battery Replacement · 2026-11-16
- docs Nook Simple Touch with GlowLight Screen Replacement · 2026-11-16
- docs Nook Simple Touch with GlowLight Charging Port Replacement · 2026-11-16
- docs Nook Simple Touch with GlowLight Back Cover Replacement · 2026-11-16
- official Retired NOOK Devices – Barnes & Noble · 2026-11-16
- official NOOK Simple Touch - Using SD Cards · 2026-11-16
- blog How to Root Nook Glow Using GlowNooter · 2026-11-16
- blog How to Root GlowLight Nook Touch with TinyNoot · 2026-11-16
- blog New Nook Touch with GlowLight Already Rooted · 2026-11-16
- blog How to Backup and Restore Nook Glow and Nook Simple Touch · 2026-11-16
- blog Software Updates for Nook Touches and Nook HD Tablets · 2026-11-16
- blog GlowNooter Updated to Root GlowLight Nook Touch with 1.2 Firmware · 2026-11-16
- blog Tweaked Modded ROM for Nook Touch and Nook Touch GlowLight · 2026-11-16
- blog Nook Simple Touch FastMode & USB Sound ROM · 2026-11-16
- wiki Nook Simple Touch - Wikipedia · 2026-11-16