Home › Devices › Canon › Canon EOS 70D
 NEW!
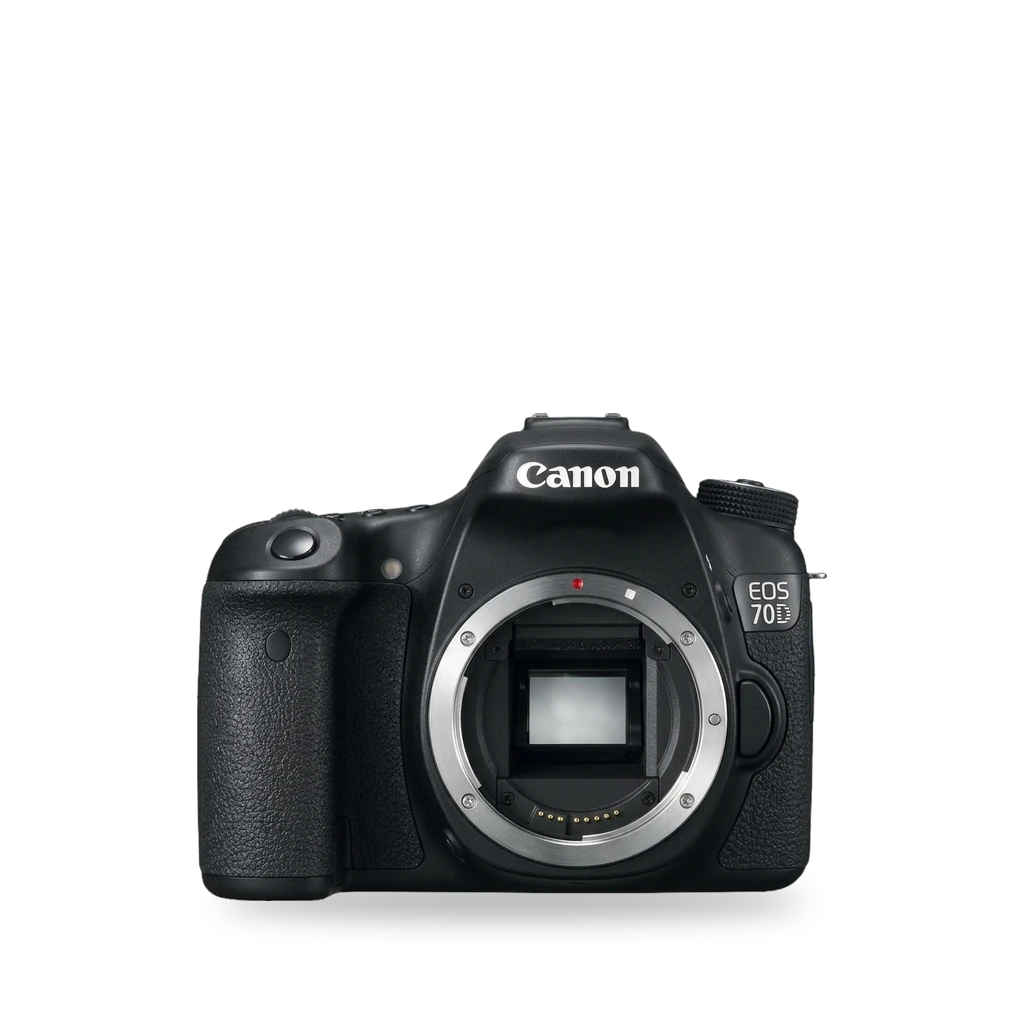
Photo: Kārlis Dambrāns from Latvia, CC BY 2.0 · AI-edited (studio background)
.jpg)
CANON · CAMERA · 2013
Canon EOS 70D
Also called: EOS 70D · 70D
Canon's mid-range APS-C from 2013 with Dual Pixel CMOS AF and a capacitive touch LCD. Magic Lantern has been available for the 70D since 2015, for Canon firmware 1.1.2. An infrared DIY conversion and several iFixit repairs are documented.[1][8][15][12]
Which one do I have?
Specs
Mods (5)
⚠ Mod at your own risk. We collect what others have published; we have not tested these mods. Read the safety notes
Magic LanternWorks
- ⚠ Can brick A mistake can leave the device unable to start.
- ⚠ Data loss Can erase what is on the device. Back up first.
Free GPL add-on from the SD card. Available for all 70D owners since April 2015, for Canon firmware 1.1.2. Early builds split by serial number into A and B.[13][15][16][14][8][9][10][11][3][4][17]
Parts
- SD or SDHC card, 32 GB or smaller Fits — Used for a first Magic Lantern install.[15]
Good to know
- Magic Lantern runs from the card as an add-on over standard Canon firmware. It does not replace firmware in ROM.[16][14]
- Magic Lantern was available for all 70D owners in April 2015. Check the serial number for version A or B.[8]
- The 70D records to SD, not CF. EOSHD puts it in the mid-range raw class (~40 MB/s) with a 200 MB buffer.[8][9]
- Dual Pixel CMOS AF works during raw recording on the 70D.[8][9]
- In 2015 the build was beta; zebras worked; USB headphone output and the Audio menu did not. Owner said it did not brick their camera.[10]
- Magic Lantern does not remove the 30-minute clip limit; it can auto-restart recording after a gap of up to about 2.5 seconds (early 2015 alpha report).[11]
- Canon firmware 1.1.2 is for cameras up to 1.1.1 (file 70D00112.FIR). Canon later released 1.1.3.[3][4]
- Hold SET at startup to bypass Magic Lantern for one session.[16]
⚠ Watch out
- Match the build to Canon firmware 1.1.2 unless a readable build page says otherwise. Cameras on 1.1.3 may need a different build.[3][4]
- The project warns that Magic Lantern can damage or destroy the camera.[15]
- Use a card of 32 GB or smaller and a fully charged original battery for first install.[15]
- Canon does not cover repairs caused by third-party firmware.[17]
Guides:Magic Lantern INSTALL.txt
Replace the LP-E6 batteryWorks
- ⚠ Lithium battery Uses or touches a lithium cell. A damaged cell can catch fire.
The camera takes an LP-E6 pack (7.2 V, 1800 mAh). LC-E6 charge time is about 2 hours 30 minutes. A BG-E14 grip can take AA cells.[1][2]
Parts
- Canon LP-E6 Fits — Canon supplies one LP-E6.[1]
- Battery Grip BG-E14 Fits — Lets size AA batteries be used.[1]
Good to know
- Battery Pack LP-E6, quantity 1. Specs list 7.2 V and 1800 mAh.[1][2]
- LC-E6 recharging time about 2 hours 30 minutes.[2]
- With Battery Grip BG-E14 attached, size AA batteries can be used.[1]
Guides:No guide found yet.
LCD touchscreen replacementWorks
- ⚠ Stored charge Capacitors keep a dangerous charge after the device is off.
Community iFixit guide: remove the battery and backplate, then the hinged touchscreen and its ribbon connector.[6]
Good to know
Interface cover replacementWorks
Infrared conversionWorks
- ⚠ Stored charge Capacitors keep a dangerous charge after the device is off.
- ⚠ Permanent change Cuts, drills or glues the device. You cannot undo it.
- ⚠ Soldering Needs a soldering iron. Heat can lift pads and burn skin.
Life Pixel DIY tutorial: open the body, remove the sensor unit, and swap the hot-mirror for an infrared filter. The shop recommends a professional conversion instead.[12]
Parts
- Infrared replacement filter Fits with conditions — Replaces the stock hot-mirror in front of the sensor; Life Pixel sells custom glass filters.[12]
Good to know
- The tutorial swaps the hot-mirror for a custom glass infrared filter across about 22 steps.[12]
⚠ Watch out
Buttons & modes
| What | How |
|---|---|
| Bypass Magic Lantern once | Hold SET at startup.[16] |
Sources (17)
- official EOS 70D - Canon Camera Museum · 2026-11-16
- official Specifications (EOS 70D (W)) · 2026-11-16
- official EOS 70D Firmware Update, Version 1.1.2 · 2026-11-16
- official EOS 70D Firmware Update, Version 1.1.3 · 2026-11-16
- forum service manual canon eos 70d · 2026-11-16
- docs Canon EOS 70D LCD Touchscreen Replacement · 2026-11-16
- docs Canon EOS 70D Interface Cover Replacement · 2026-11-16
- blog Magic Lantern now working on Canon 70D · 2026-11-16
- blog Magic Lantern Raw Video capabilities 2017 · 2026-11-16
- forum Magic lantern for 70D? · 2026-11-16
- forum Canon's 70D and its 30 minute video recording limit · 2026-11-16
- shop Canon 70D DIY Digital Infrared Conversion Tutorial · 2026-11-16
- wiki Magic Lantern (firmware) - Wikipedia · 2026-11-15
- official magiclantern_simplified - reticulatedpines · 2026-11-15
- official Magic Lantern INSTALL.txt · 2026-11-15
- official Magic Lantern FAQ.txt · 2026-11-15
- blog Will Custom Firmware Void My Warranty? · 2026-11-15