Home › Devices › Nintendo › Game & Watch: The Legend of Zelda
 CUSTOM FW!
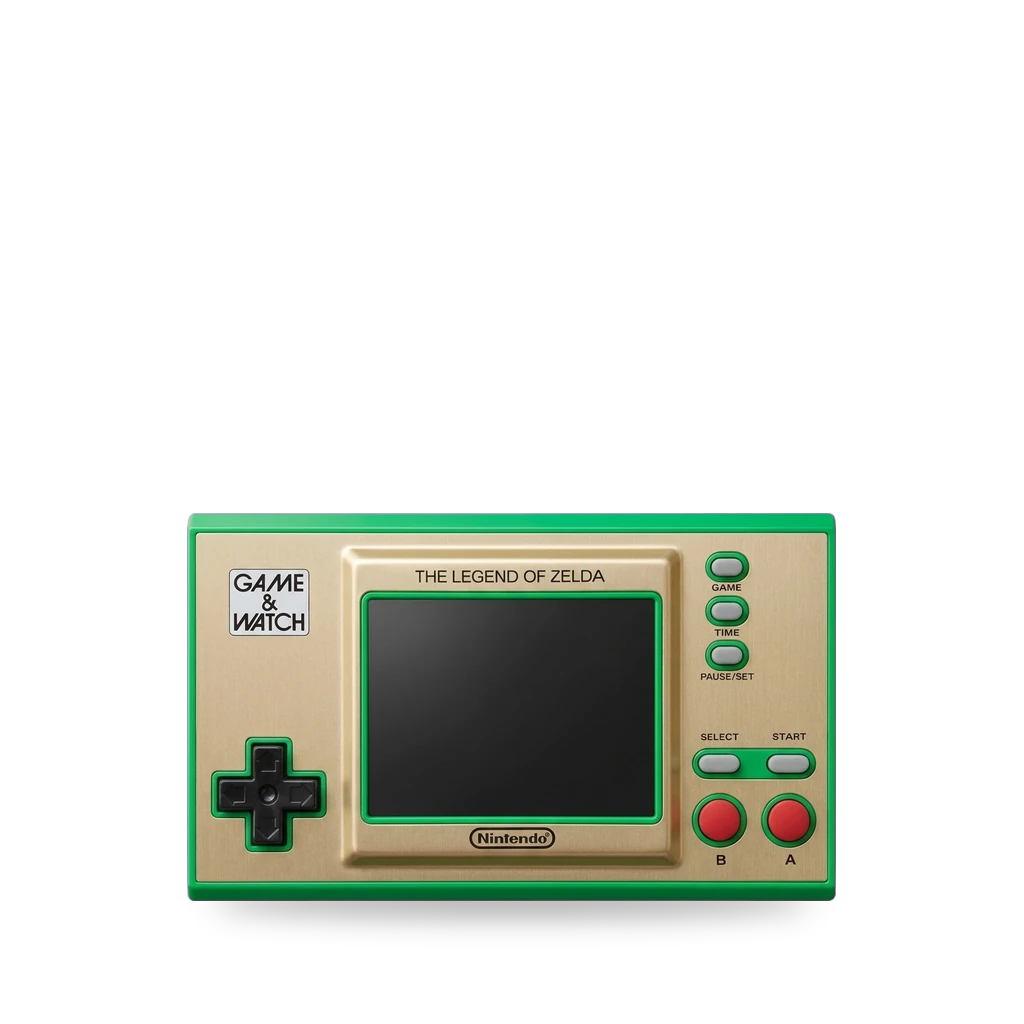
Photo: Artistosteles, CC BY-SA 4.0 · AI-edited (studio background)

NINTENDO · HANDHELD CONSOLE · 2021
Game & Watch: The Legend of Zelda
Also called: Zelda Game & Watch · Game & Watch Zelda 2021 · GNW Zelda
2021 collectible Game & Watch with Legend of Zelda classics, USB-C charging, and about 8 hours of play. Community firmware (Retro-Go) runs on the stock 4 MB flash or with a 64 MB chip and microSD slot; dual-boot can keep Nintendo's menu.[1][2][6][7]
Which one do I have?
Specs
Mods (3)
⚠ Mod at your own risk. We collect what others have published; we have not tested these mods. Read the safety notes
Unlock and backup stock firmwareWorks
- ⚠ Can brick A mistake can leave the device unable to start.
- ⚠ Soldering Needs a soldering iron. Heat can lift pads and burn skin.
- ⚠ Lithium battery Uses or touches a lithium cell. A damaged cell can catch fire.
- ⚠ Data loss Can erase what is on the device. Back up first.
Use gnwmanager over a debug probe to back up and unlock your own unit before any custom firmware. Dump is saved on your machine.[8][9][3]
Special tools: ST-Link, J-Link, or Raspberry Pi Pico debug probe
Good to know
- gnwmanager's unlock command backs up and unlocks a stock Game & Watch console through a debug probe (ST-Link, J-Link, or Raspberry Pi Pico).[8][9]
- Unlock is a single command; interrupted runs can be resumed with a backup directory. Tutorial example output is from a Mario unit, not Zelda.[9]
- Never connect the ST-Link VCC to the Game & Watch board's VDD pin; normally only GND, SWDIO, and SWCLK are needed.[3]
Retro-Go on stock 4 MB flashWorks
- ⚠ Can brick A mistake can leave the device unable to start.
- ⚠ Soldering Needs a soldering iron. Heat can lift pads and burn skin.
- ⚠ Lithium battery Uses or touches a lithium cell. A damaged cell can catch fire.
- ⚠ Check the law May break a law or rule where you live.
- ⚠ Data loss Can erase what is on the device. Back up first.
Build Retro-Go with GNW_TARGET=zelda for the stock chip. Dual-boot can keep Nintendo's menu by dropping sleep images and Link's Awakening to free space.[6][5][3][9]
Good to know
- Build with GNW_TARGET=zelda (sets flash size and theme). Stock Zelda flash is EXTFLASH_SIZE_MB=4.[3][6]
- The Zelda patcher uses PATCH_PARAMS="--device=zelda". On the stock chip the patched firmware uses a fixed external-flash budget; fitting Retro-Go alongside needs --no-sleep-images and --no-la.[5][6]
- Triple-boot layout can keep stock firmware in internal flash bank 1 with Retro-Go in bank 2 (LEFT + GAME launches it).[6][5]
- You must dump and keep your own stock firmware from your own unit before flashing custom software.[9][6]
Guides:game-and-watch-patch docs/zelda.mdsylverb/game-and-watch-retro-go
64 MB flash and microSD slotWorks
- ⚠ Soldering Needs a soldering iron. Heat can lift pads and burn skin.
- ⚠ Can brick A mistake can leave the device unable to start.
- ⚠ Permanent change Cuts, drills or glues the device. You cannot undo it.
- ⚠ Lithium battery Uses or touches a lithium cell. A damaged cell can catch fire.
- ⚠ Check the law May break a law or rule where you live.
- ⚠ Data loss Can erase what is on the device. Back up first.
Replace the stock SPI flash with a 1.8 V 64 MB chip (e.g. MX25U51245GZ4I00), add a microSD slot on a flex adapter, and cut the shell (drill jig or replacement back). Enables Retro-Go SD dual-boot.[7][4][12][11][13][10][6]
Special tools: hot-air rework, debug probe / JTAG
Parts
- MX25U51245GZ4I00 64 MB SPI flash (1.8 V) or larger Fits — Must be 1.8 V to match the board.[7][4]
- microSD flex adapter + RT9193-28GB LDO, resistor, capacitors Fits with conditions — Parts listed in the SD mod README. Shell cutting uses a drill jig; a replacement back shell is also offered.[7][13]
Good to know
- Hardware list includes a 64 MB 1.8 V SPI flash, flex PCB adapter, RT9193-28GB LDO, resistor, and capacitors.[7]
- A drill jig helps cut the shell for the SD slot; community 3D-printed guides are also used. Replacement back shells are offered.[7][13]
- Zelda dual boot uses gnwmanager flash-patch with --bootloader on a backup of the unit's own internal flash. Updates copy retro-go_update.bin to an exFAT or FAT32 microSD card.[7]
- A failed bootloader update means reprogramming the bootloader over JTAG.[7]
- News write-ups describe hot-air rework, desoldering the speaker, dumping firmware, then fitting the larger chip and SD ribbon — with a clear brick risk.[12][11][10]
⚠ Watch out
Sources (13)
- official Game & Watch: The Legend of Zelda System – Nintendo · 2026-11-17
- official How to Charge Game & Watch Systems - Nintendo · 2026-11-17
- official sylverb/game-and-watch-retro-go · 2026-11-17
- docs cHunter789/game-and-watch-retro-go (fork README) · 2026-11-17
- official BrianPugh/game-and-watch-patch · 2026-11-17
- official game-and-watch-patch docs/zelda.md · 2026-11-17
- official sylverb/game-and-watch-retro-go-sd · 2026-11-17
- official BrianPugh/gnwmanager · 2026-11-17
- official gnwmanager unlock tutorial · 2026-11-17
- news Zelda Game & Watch Hacked Into a Tiny Emulation Powerhouse · 2026-11-17
- news Zelda Game and Watch microSD and memory mods | GamesRadar+ · 2026-11-17
- news Nintendo's Game & Watch hacked — Tom's Hardware · 2026-11-17
- news The Zelda Game & Watch Gets a Massive Fan Upgrade · 2026-11-17