Home › Devices › Sony › PlayStation Portable (PSP-1000)
 CUSTOM FW!
Photo: Evan-Amos, Public domain · AI-edited (studio background)

SONY · HANDHELD CONSOLE
PlayStation Portable (PSP-1000)
Also called: PSP-1000 · PSP 1000 · PSP Fat · PSP-1001
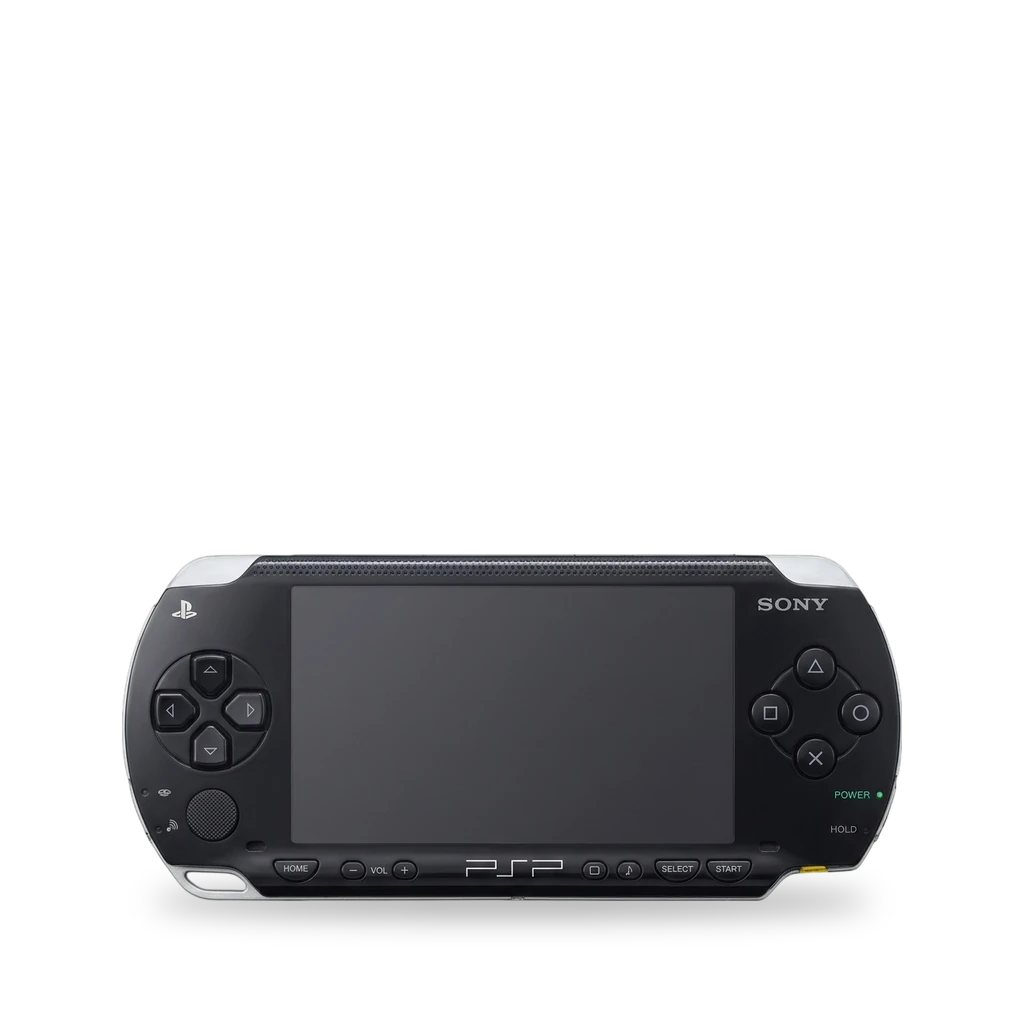
Sony's first PlayStation Portable, the PSP-1000. It has a 4.3-inch screen and a UMD drive. ARK-4 custom firmware supports every PSP model, and its cIPL installer makes it permanent. The battery comes out without tools, and one shop fits an IPS screen.[1][6][3][4]
Which one do I have?
| Model | Variant | Year | How to tell |
|---|---|---|---|
| PSP-1000 | original (Fat) | — | First-generation PSP with a 4.3-inch screen and a UMD drive. It has 32 MB of RAM and a removable battery. Region variants are sold as PSP-1001 and PSP-1004, among others.[1] |
Mods (4)
⚠ Mod at your own risk. We collect what others have published; we have not tested these mods. Read the safety notes
ARK-4 custom firmwareWorks
- ⚠ Can brick A mistake can leave the device unable to start.
- ⚠ Check the law May break a law or rule where you live.
Custom firmware for every PSP model. The cIPL installer makes it permanent. The same project includes Despertar del Cementerio, a tool to revive a bricked PSP.[6]
Good to know
- ARK-4 is compatible with every PSP model (excluding Strider2) and every PS Vita model. Its install notes name firmware 6.61.[6]
- The cIPL installer (Custom Initial Program Loader) makes ARK a permanent custom firmware. It works on all PSP models and picks the right version for your model.[6]
- Despertar del Cementerio version 10 (DDCv10) is included to unbrick a PSP.[6]
Replace the batteryWorks
- ⚠ Lithium battery Uses or touches a lithium cell. A damaged cell can catch fire.
The rear-left door opens with a release button. The battery lifts out with a finger. The swap is rated Easy and takes 1 to 3 minutes.[3]
Parts
- Sony PSP 1000 battery Fits — Sits behind the rear-left battery door.[3]
Good to know
Replace the original screenWorks
The guide takes the battery out, peels the warranty sticker, and removes the case screws with a Phillips #00 driver. The panel has two ribbon cables with flip-up latches.[2][1]
Good to know
- The guide removes the battery, peels the warranty sticker, and takes out the case screws with a Phillips #00 driver.[2]
- The bottom button board is held by two clips and stays attached by a ribbon cable.[2]
- Frame clips hold the LCD. A thin and a wide ribbon cable connect it, and both open with flip-up latches.[2]
- iFixit also lists the front housing, button boards, UMD drive, and battery as modules that can be serviced.[1]
⚠ Watch out
- Lift the LCD gently so the ribbon cables do not break. The guide says the small latch is very easy to break.[2]
IPS screenWorks
- ⚠ Soldering Needs a soldering iron. Heat can lift pads and burn skin.
A shop installs an aftermarket IPS screen in the PSP-1000 for extra brightness. The screen kit is bought separately.[4][2][5]
Parts
- PSP-1000 IPS screen kit Fits — IPS kit for the PSP-1000. One kit has a redesigned ribbon cable that needs no adaptor.[4][5] Buy: k-retro.com
Good to know
- The shop installs an aftermarket IPS screen. The original PSP-1000 screen is less bright than later PSP editions.[4]
- The IPS screen is brighter and ghosts less than the original. One kit has a redesigned ribbon cable, so no adaptor ribbon is needed.[5]
⚠ Watch out
- Lift the LCD gently so the ribbon cables do not break. The stock LCD guide uses a Phillips #00 driver and is for the original panel, not this IPS install.[2]
Guides:No guide found yet.
Buttons & modes
| What | How |
|---|---|
| Open the battery door | Press the release button on the rear-left battery door.[3] |
Sources (6)
- wiki PSP 1000 Repair - iFixit · 2026-11-14
- wiki PSP 1000 LCD Screen Replacement - iFixit Guide · 2026-11-14
- wiki PSP 1000 Battery Replacement - iFixit · 2026-11-14
- shop Sony PSP 1000 IPS Screen Mod - k-retro · 2026-11-14
- blog Building the Ultimate PSP - RetroRGB · 2026-11-15
- docs ARK-4 e/CFW for the PSP and PS Vita - PSP-Archive · 2026-11-14