Home › Devices › Nintendo › Nintendo DS
 CUSTOM FW!
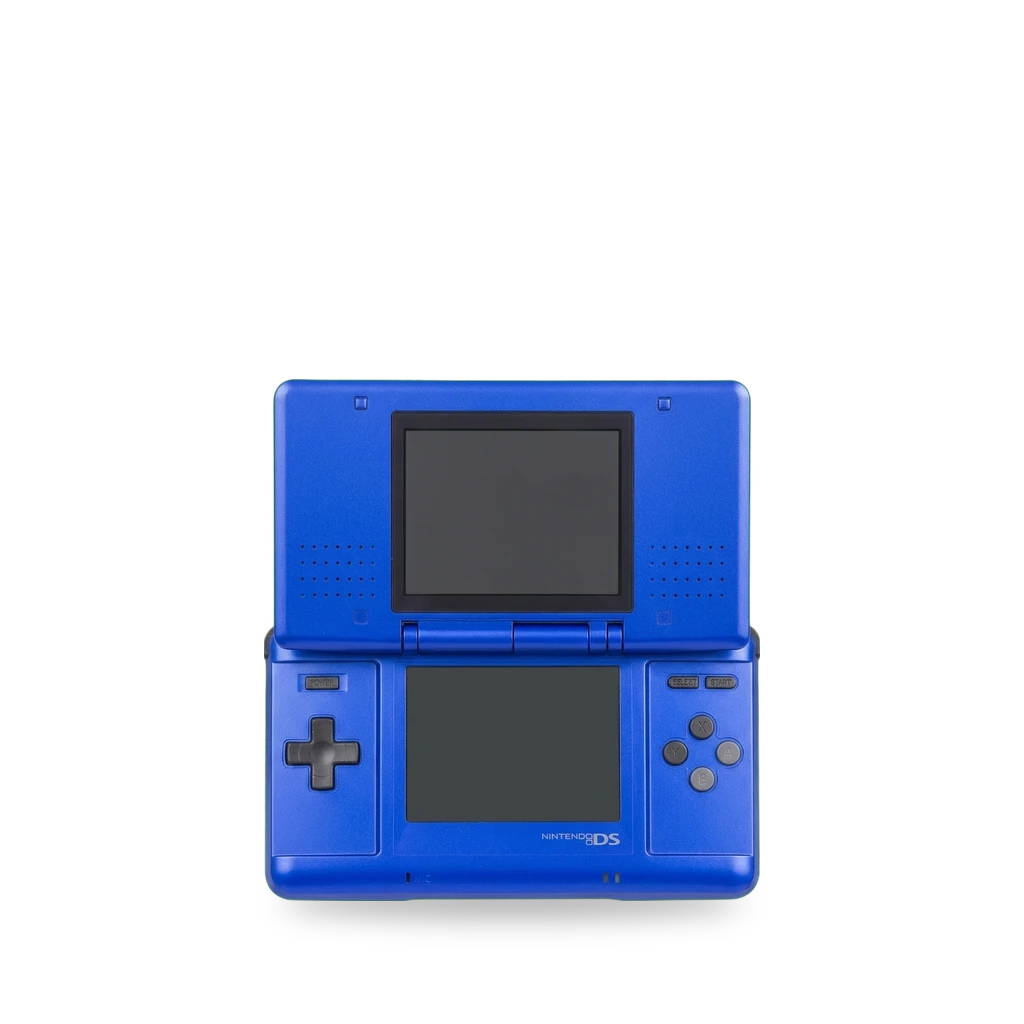
Photo: Evan-Amos, Public domain · AI-edited (studio background)

NINTENDO · HANDHELD CONSOLE · 2004
Nintendo DS
Also called: DS Phat · DS Fat · original DS · NTR-001
The original Nintendo DS from 2004, model NTR-001. Two 3-inch screens, a touchscreen on the bottom, a microphone, and a Game Boy Advance slot. Common changes are a homebrew menu on a flashcart, a replacement battery, or a USB-C charge port.[1][2][5][8][6]
Which one do I have?
| Model | Variant | Year | How to tell |
|---|---|---|---|
| NTR-001 | Original (Phat) | 2004 | The model number NTR-001 and the Nintendo DS label are on the bottom.[1] |
Specs
Mods (9)
⚠ Mod at your own risk. We collect what others have published; we have not tested these mods. Read the safety notes
Replacement batteryWorks
Slot-1 pass-through adapterWorks
- ⚠ Check the law May break a law or rule where you live.
A cartridge adapter that sits in Slot-1 and changes the header so the console starts code from the Slot-2 cartridge. It only works on early firmware, versions 1 to 3. The case stays closed.[3]
Parts
- PassMe adapter Fits — Sits in Slot-1 and redirects the start address to the Slot-2 cartridge. Early firmware (versions 1 to 3) only.[3]
Good to know
- PassMe changes the cartridge header so the run address points at the Slot-2 cartridge.[3]
Guides:No guide found yet.
Upper screen replacementWorks
Replace the top LCD. The ribbon and wires that pass through the hinge are easy to tear.[7]
⚠ Watch out
- Do not tear the ribbon cables and wires that run through the hinge.[7]
Guides:Nintendo DS Upper LCD Screen Replacement - iFixit Repair Guide
Wireless multibootExperimental
- ⚠ Check the law May break a law or rule where you live.
Uses a Download Play bug in early firmware to boot unsigned code over Wi-Fi. The case stays closed.[3]
Good to know
- WiFiMe, also called Wireless Multiboot, uses Download Play bugs in firmware versions 1, 2, and 3 to boot unsigned code over Wi-Fi.[3]
⚠ Watch out
- This bug exists in firmware versions 1 through 3. Check the console's firmware first.[3]
Guides:No guide found yet.
USB-C charge portExperimental
- ⚠ Soldering Needs a soldering iron. Heat can lift pads and burn skin.
A small board that replaces the charge port with USB-C, including USB-C to USB-C and USB-PD. The same board fits this DS and the Game Boy Advance SP.[6]
Parts
- USB-C charge-port board Fits — Replaces the charge port on the original DS, model NTR-001. The same board is made for the Game Boy Advance SP.[6]
Good to know
- The board supports USB-C to USB-C charging and USB-PD, and it works on the original DS (NTR-001).[6]
Guides:No guide found yet.
USB captureWorks
An internal board that sends both screens and the audio out over USB. It fits the original DS only.[9]
Parts
- DS Capture Board Fits — Fits the original NTR-001 only. It does not fit a DS Lite or a DSi.[9]
Good to know
- Video from both screens, and the audio, come out over USB.[9]
⚠ Watch out
- This board does not fit a DS Lite or a DSi.[9]
Guides:No guide found yet.
FlashMe firmwareWorks
- ⚠ Can brick A mistake can leave the device unable to start.
- ⚠ Soldering Needs a soldering iron. Heat can lift pads and burn skin.
- ⚠ Check the law May break a law or rule where you live.
Overwrites the onboard firmware so the console can start homebrew from a Slot-2 flashcart without a PassMe adapter. The ppflash install solders a parallel-port cable to the firmware chip.[3]
Special tools: parallel-port cable
Good to know
- FlashMe overwrites the firmware with a version that looks in the Slot-2 cartridge for homebrew, so a PassMe adapter is not required.[3]
⚠ Watch out
GBA MacroWorks
- ⚠ Permanent change Cuts, drills or glues the device. You cannot undo it.
Turn a DS with a broken hinge into a single-screen Game Boy Advance player with stereo speakers. The inside of the shell is sanded.[10]
Good to know
- One build starts from a DS with a broken hinge and keeps it as a Game Boy Advance player with stereo sound.[10]
⚠ Watch out
- The inside of the shell is sanded to remove gaps around the screen.[10]
Guides:Built a GBA Macro from Broken Nintendo DS with Stereo Speakers! - iFixit Repair Guide
Buttons & modes
Sources (10)
- wiki Nintendo DS Repair Help: Learn How to Fix It Yourself. · 2026-11-14
- blog gremlin.neocities - Retro DS · 2026-11-14
- docs Nintendo DS passthrough methods - Pin Eight · 2026-11-14
- docs Nintendo DS / Nintendo DSi - Dumping Guide · 2026-11-14
- docs Installing TWiLight Menu++ (Flashcard) | DS-Homebrew Wiki · 2026-11-14
- official GitHub - rorosaurus/gba-sp-usb-c: PCB to replace GBA SP's charging port with USB-C · GitHub · 2026-11-15
- docs Nintendo DS Upper LCD Screen Replacement - iFixit Repair Guide · 2026-11-15
- docs Replacing Nintendo DS Battery - iFixit Repair Guide · 2026-11-15
- official DS Capture Board · 2026-11-15
- docs Built a GBA Macro from Broken Nintendo DS with Stereo Speakers! - iFixit Repair Guide · 2026-11-15